How to Reseal Custom Stamped Concrete
We are always talking about the benefits of concrete and custom concrete applications and rightly so! Concrete is awesome, and its applications are almost endless. Due to concrete’s long life span, you will notice that overtime the concrete’s color will start to fade just a little bit. Not to worry, this is normal and affordable fixes are available.
So, where to begin?
First, let’s figure out if this is a job you can do yourself. Yes, yes you can! As long as you can follow directions and properly prep your work site, you shouldn’t have any problems resealing your stamped concrete. But, which type of re-sealer should you use? Often times, problems with the sealer come up because a solvent based sealer was used. We highly recommend using a water based sealer. Though ultimately the decision is up to you, there are benefits to both:
- Water-based soaks into the concrete, and doesn’t leave a film.
- Solvent based sealer has a bit more pop to it.
Cleaning the Concrete:
As the step says, it’s time to clean your stamped concrete. You can go a number of ways with this step but we here at RGS Contracting recommend using a pressure washer with a cone tip. A 3000psi pressure washer is more than enough to take care of the job. Just ensure that you don’t hold the tip of the sprayer too close to the concrete or you’ll end up with lines in your concrete.
Now, you don’t want to remove all of the old sealer. All we’re looking to do is clean the dirt and debris off the surface of the concrete. If the pressure washer doesn’t get everything off, you can use a stiff bristle broom and some dish soap mixed in a 5 gallon bucket with hot water.
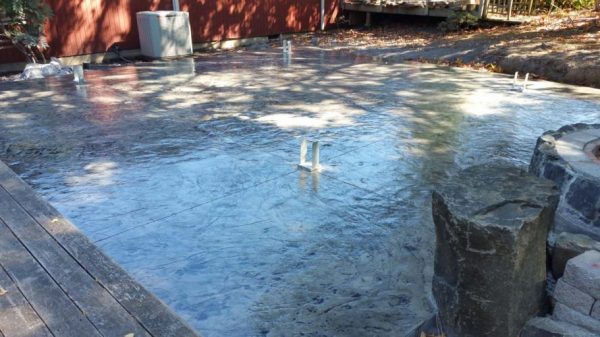
Once your stamped concrete is sparkling clean, let it dry out completely. We’re talking 48 hours, because even though the area looks dry, concrete holds a lot of moisture below the surface.
Re-Sealing the Stamped Concrete:
The trick to resealing your stamped concrete is: thin layers and agitation. The instructions on your re-sealer will let you know how far the gallon should go, feet x feet, but remember to keep it thin. Then you’ll want a chemical resistant brush to agitate the sealer solution. By agitate I mean to lightly brush over the newly sealed area back and forth a few times.
If you chose a solvent based re-sealer over a water based, the solvent based will dry much quicker so you might want to get a friend to help.
Re-Sealing Like a Pro:
For the first coat, go ultra-thin. 1 gallon for 500 square feet. Wait 20-30 minutes to dry, and apply the second coat if necessary. Double check that the first coat is completely dry, no tackiness, before applying a second coat.
Viola! Now your custom concrete is looking better than new. Check back next month as we delve even deeper into the world of custom concrete applications! Thanks again for stopping by and remember, RGS Contracting, “Where Creativity and Affordability Come Together.”