DIY: Fixing Cracks in Concrete Flooring and Slabs
Concrete can crack for any number of reasons. Perhaps the sub-base wasn’t properly compacted causing the concrete to settle unevenly. Or maybe the concrete was poured with a little too much water in the slush, or was improperly cured. It is for these reasons and more that I am talking to you today about a little DIY project you can do this weekend. Fixing cracks in concrete flooring and slabs!
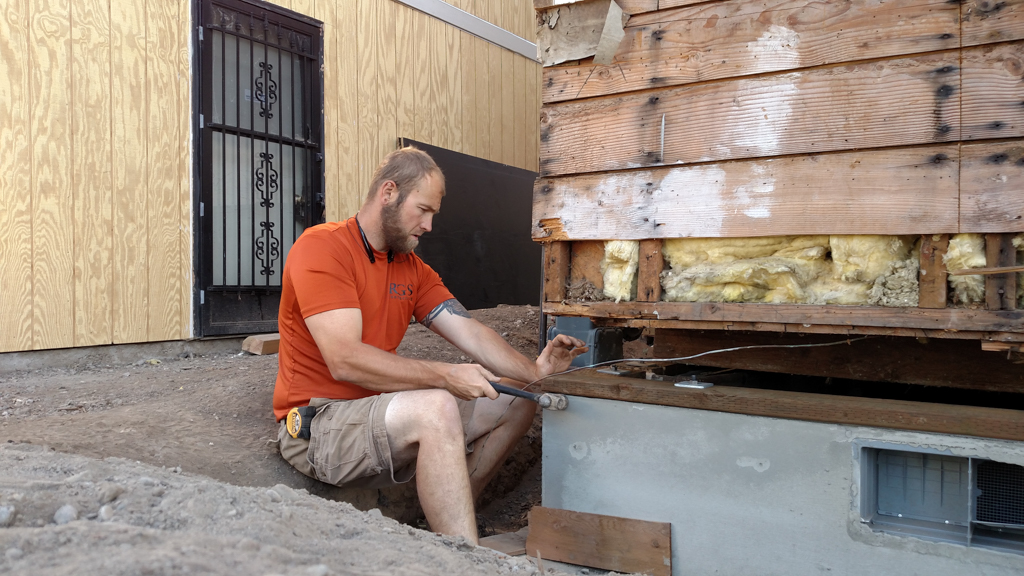
Before we get too far, we’ll need to determine the reason for the concrete cracking. If your cracks are forming due to settling or heaving, then you’re dealing with a sub-base issue and you may need to remove and re-pour that concrete slab. For a problem like settling or heaving you should call a professional concrete contractor like, RGS Contracting. If we are dealing with a simple crack due to improper curing or too much water in the slurry, then no worries.
If you’re sure the concrete floor or slab is done expanding, then let’s continue with our DIY project and get those cracks filled!
What you’ll need:
- Concrete Floor Repair Kit – These are great if you don’t already have the basic materials… Resin, silica sand, tools, calking gun. Etc. etc.
- If you already have some basic tools you might look at a material like Sikaflex. This isn’t as strong as the repair kit from before but can fix most small cracks quickly and for a lot less.
- Possibly a chisel or grinder if the crack is too thin for the epoxy/urethane to seep in.
- Putty Knife
- Sand Paper
Steps
- Remove any loose cement or debris from the crack. If you have a shop-vac, this step won’t take you more than a few seconds.
- If the crack is too small or narrow, you may have to chisel out or rout some of the excess material. Making the crack a bit wider and smoother will only make for a better, stronger seal.
- Depending on which kit or filler option you chose to use, inject the repair resin into the cracked concrete to wet the surface area of the crack.
- Pack the crack with your dry silica sand solution.
- Top the silica sand off with more of the repair resin, filling to the surface of the concrete floor/slab
- Wait 10-15 minutes, then scrape off as much excess filler as possible with your putty knife.
- If you have some pitting in other places, use the extra resin material on your putty knife to quickly fill those pits in your concrete floor/slab.
- Sand the cracked surface smooth and your done!
If you’re one of those people who learns better with visuals, here is a great DIY video put together by the same people who make the RadonSeal Kit I recommended earlier! http://www.radonseal.com/crack-injection/slab-cracks.htm
Thanks for stopping by, and check back next month for more great custom concrete information and DIYs!