How to Properly Paint Your Walls
As Eugene’s trusted carpenter and concrete contractor, we’ve had a lot of experience with painting and staining. One thing we have noticed over the years is how often people get painting wrong, whether it’s their process or technique. When it comes to painting, it’s all about the prep! Believe it or not, the steps you take before rolling on the paint will determine the outcome of the finished product. Since this is commonly looked over by homeowners, we thought we would put together a comprehensive guide to painting the right way.
Empty the room and remove fixtures
First things first, you’ll want to remove any thing that’s on the wall, touching the wall or that will get in your way. For example, a book shelf, framed photos, artwork, etc. Place larger furniture in the center of the room and cover it with an old sheet or plastic. Remove all fixtures, outlet plates, curtains, etc. so that your walls are bare.
Repair any holes or cracks
Before we get any further, now’s the time to repair any holes or other damage to your walls. Most of the common wear and tear you can fix yourself and doesn’t require a carpenter. Use spackle to repair any holes or cracks. Let dry and sand smooth. If you have old wallpaper, here’s how you can remove it without damaging your walls.
Clean the walls
This is the most important step in the prep process, so don’t look it over! Mix together a few drops of mild dishwashing liquid with water and grab a large sponge. Dip the sponge in the solution and wipe your walls clean of any dust or dirt. You can also use a vacuum to pick up excess dust.
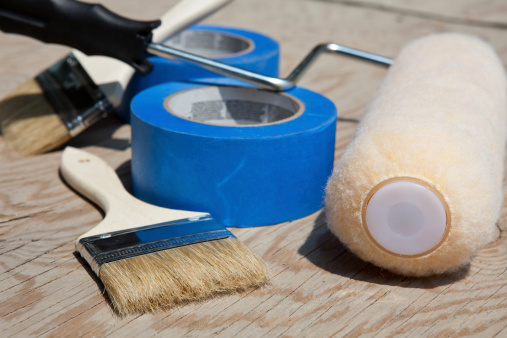
Cover outlets, switches and border with blue tape
Using painter’s tape, cover up any electrical outlets, trim, light switches, doorknobs, window frames and door frames. Basically, all areas you don’t want to get paint on. The edge of the tape should lie exactly where the wall meets the outline of whatever it is you’re covering.
Prime with primer
Make sure your walls are dry before applying the primer. Priming your walls in important because it adheres to your wall and receives your top coat of paint. Some paints have primers built into them, if this is the case, you can skip this step. With a fully-loaded roller, paint primer from top to bottom across the wall in a series of ‘V’ or ‘W’ strokes.
Paint!
The most important part to how you paint is the technique you use. First, you’ll want to paint the trim with a two-inch angled brush. Apply paint flush against your taped trim and work outwards of about two or three inches. Once your trims are painted it’s time to bust your roller out again. Dip your paint roller in a filled paint tray and remove excess. Roll the freshly dipped roller onto the wall in a “W” shape (just like the primer) about 3-by-3-feet big. Continue this movement back and forth across the wall and fill in empty patches until the whole wall is painted.
Remove tape
In order to avoid your tape from ripping off the paint, we recommend removing the painter’s tap before the paint is completely dry. Clean your painting tools, remove any plastic coverings, dispose of tape, and viola! Your freshly painted wall is ready to go!
If you need any help with your next home improvement project, contact Eugene’s best carpenter, RGS Contracting! We also specialize in custom concrete driveways, stairs, countertops, and more.